Sunday, September 14, 2014

Bar stool revamp

Our bar stools were left behind by the previous owners and it was time for a revamp - wanted to update the chairs to match the rest of the work we're doing in the house. They started out as black and grey and have been turned into a beige color with a blue/green cushion.


Materials:
- Liquid paint stripper
- Steel wool
- Metal sanding brush
- Clean rags
- Primer
- Spray paint in your color
- Drop cloth (x2)
- Bucket
- Soap

Steps to paint:

1. Start by laying your drop cloth over the surface that you're going to be using and remove seats; keep screws in a safe place to reassemble. 
2. Clean the item you're going to be refinished - I cleaned it in the yard so my working area wasn't going to be effected.
3. Wipe down, making sure it's all dry
4. Apply your paint stripper - make sure if's compatible with the surface you're working on. My stools are metal. Let stripper sit until peeling is noticeable.
5. Wipe down stools with a CLEAN rag.
6. Using steel wool or metal brush, even out any areas that are course or that did not strip well. You'll want to run the steel wool over all areas so stool has grooves in it for the paint to hold.
7. Wipe away any residue from sanding with the steel wool - make sure your surface is dry!
8. Switch out your drop cloth - you don't want a drop cloth that's full of the stripper when you're trying to apply new paint.
9. Apply a layer of primer - ensuring you're getting ALL areas evenly. LET DRY!
10. Apply your top coat of paint.


Stripped and sanded


Supplies:
- Knife
- Staple gun
- Staples
- Fabric
- Scissors

Steps to refinish cushions:

1. Using the knife, trace inside the current staples in the cushion. You should be able to lift the fabric off the seat easily this way.
2. To remove existing fabric in the seat, remove a staple or two that's holding it in (I used a screwdriver that I fit under the staple) and pull the fabric up. If there's staples left, that's fine! They'll just be covered again.
3. Place your cushion over your fabric.
4. Cut so you have about an inch and a half to work with on each side
5. Going side by side, pull the fabric tightly, staple into place (you'll use A LOT of staples), and leave the corners for last.
6. Pull the corners straight back - this will create a "folded" look on the cushion and they'll all be uniform.
7. Reassemble your chairs!


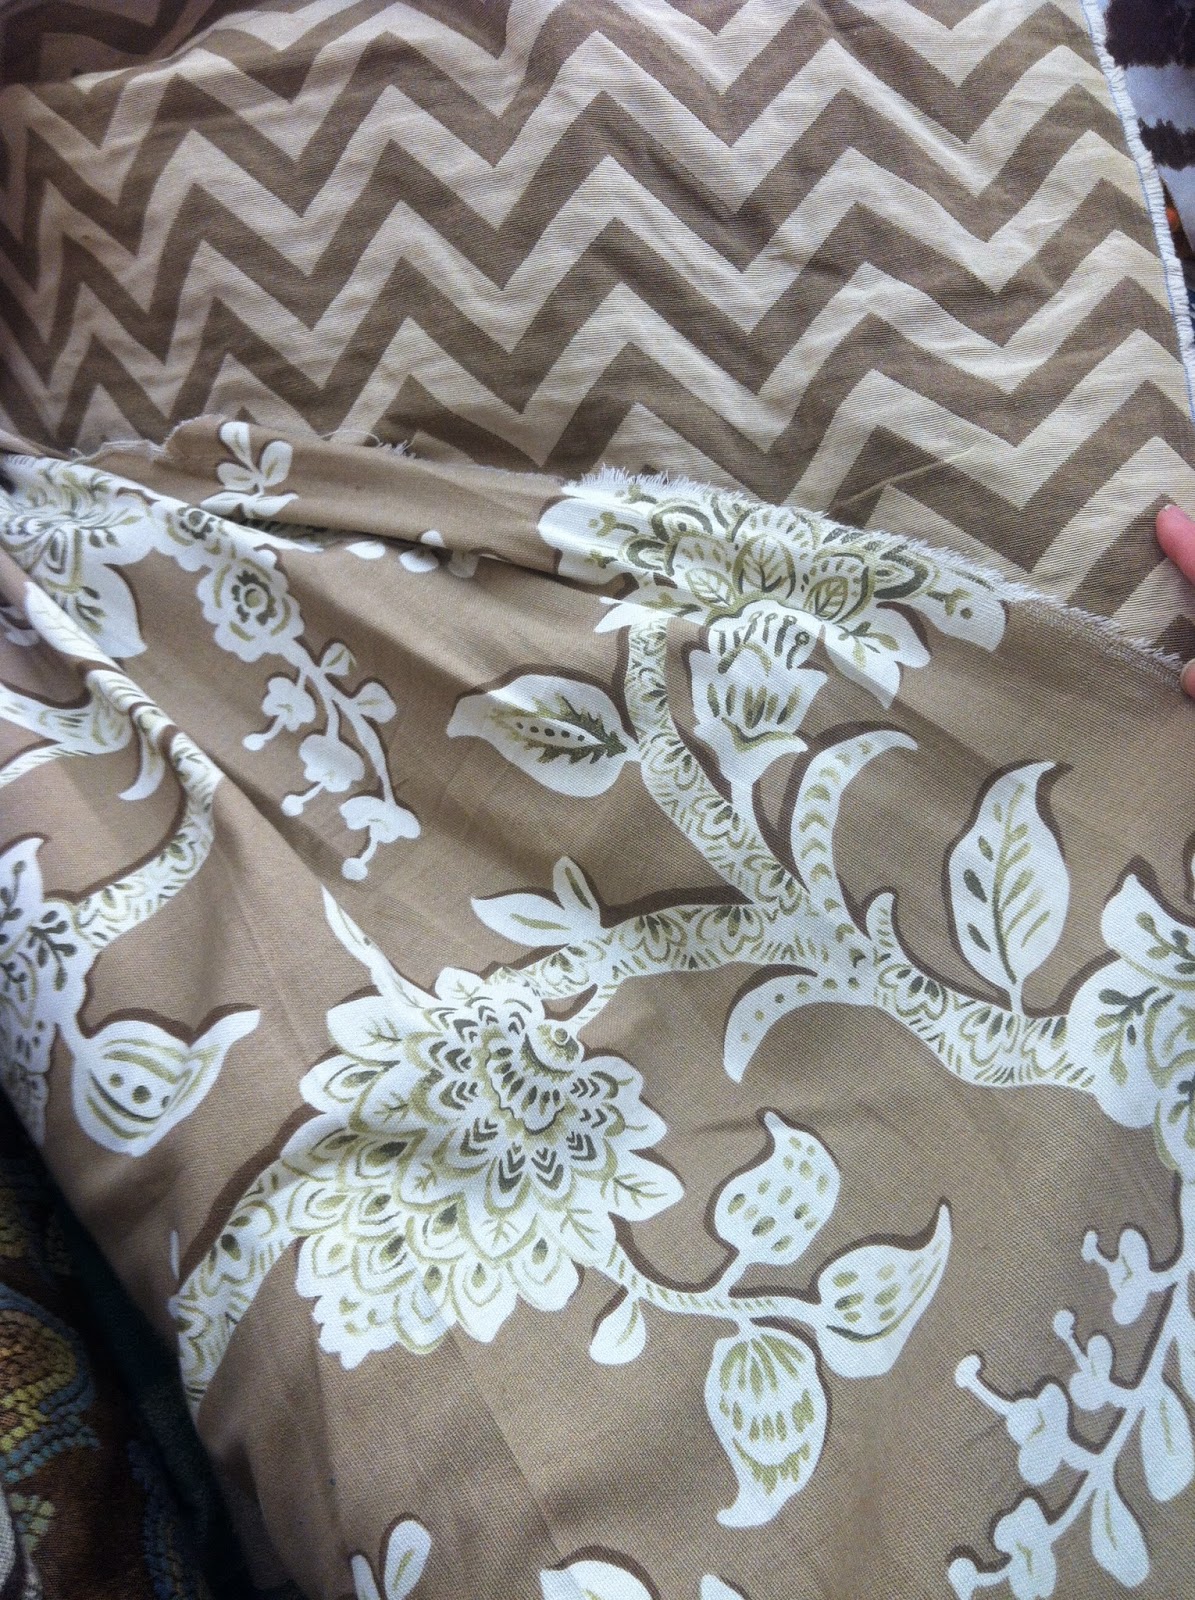
Some of our fabric options:


Final product:


Enjoy :)
e.l.l

Saturday, September 13, 2014

Landscape upkeep: Backyard


So far, we've just begun with what needs to be done in the backyard. 
Over grown flower bed, uneven fire pit, a lot
of over growth

 HELLO WEEDS AND LAYERED TREES!

We are very slowly getting there... I've redone our one flower bed back there so it's not overgrown and full of weeds, we've taken a tree out (thanks Tyler!!) and have been doing a lot of trimming and removal of small trees - for some reason, people previous to us had planted tree, on top of tree, on top of tree so they're all growing on top of each other and there's no space between them... Needless to say, we're getting there.


Here's a few of our photos of progress:


Overgrowth being trimmed...
Progress!


Filed with rock from other beds, pavers
are leveled out, weeds and sticks
thrown INTO fire pit


Existing flowers moved, new flowers planted,
mulch thrown down
Rocks and weeds removed, dirt cleaned up,
will rearrange existing flowers

Friday, September 12, 2014

Landscape upkeep

When we moved in, all of our flower beds were overgrown and not in real good shape... I don't have any photos on the "before" for the front yard but have a preview of what it looked like in the back - which is all very similar. 

We did a lot of weeding, rock picking, paver leveling, and planting. Used different sprays, preen to prevent more weeds, mulch, and bought  A LOT of perennials so we just need to take care of the up keep each year - hopefully next spring isn't so time consuming :)

Front yard: 


The front isn't quiet done as you can see - a lot of overgrowth also meant a lot of weeds. Currently tackling those, filling weed spots bit by bit, and doing a lot of fertilizing. The two trees in front are slowly dying, so next year we will be taking those out, replacing, and redesigning some of the pavers/replacing them with something a little more nice than cinder block pavers. 


Enjoy!
e.l.l

Thursday, September 11, 2014

Living Room Renovation: Part 3

Part 3 is our last and final reno for the living room space - there's a few more finishing touches I'd like to do and we'll get around to doing, but for now, I LOVE the space and spend a lot of time in this room... 


All of the pieces that are tired together from our few years of living together and can be found here:

Side tables: Brownie Furniture
Entertainment center: Slumberland furniture
Couches: Parents
Chair: Slumberland
Lamps: Home goods
Mirror: Home goods
Baskets: Michaels
Ceramic Pots: West Elm


Enjoy!
e.l.l

Wednesday, September 10, 2014

Living Room Renovation: Step 2

Next step: Paint!

It's amazing how much a fresh paint job can do for a room - especially when you're starting with fairly white walls. We looked and debated for a long time what color to do on the walls - the ceilings in the living room walls don't have any corners so we didn't have the opportunity to do any accent walls - one solid color is all that we can make sure (although I have thought about painting the ceilings; Allan isn't too keen on that idea...) 


Supplies:
- Behr Brown Teepee pain
- Brushes
- Rollers
-Tape
- Canvas drop sheets
- Trim glider
- Step stool 

Before photos:


You'll have to check back for the next post to see all of the after photos - I forgot to take some after photos with the empty room - whoops! - but I promise there will be another post soon with the finished look with our new carpet!!

Enjoy!
e.l.l.

Tuesday, September 9, 2014

Living Room Renovation: Step 1

As promised (a few months ago...) it's time to start showing off some of the work that we've been doing in the house!

We decided to start in a room that we're knew we'd be spending most of our time in - with each other, family and friends. After shampooing our living room carpet (multiple times) it  became pretty clear we weren't going to get the dark, dirt embedded square out of the center of the room and it was time to replace it, open up the entry way by tiling it so people aren't walking in on nice carpeted floors, and it could use a real good paint job (the trim is next on the list for painting, but for now, we're trying to enjoy the last of our warm weather!). 


Materials:
- Ceramic tiles
- Cement backer board
- Thin set
- Drywall screws
- Grout mix 
- Spacers
- Mixing bucket

Tools:
- Power drill
- Trowels (2)
- Tile saw
- Sponge
- Rubber grout float

This project took about two weeks - not because it was real grueling, but on days that it rained we focused on inside work and of course once we started this project, the beautiful weather kicked in! We looked at a few different DIY tutorial and talked with my dad who just finished some tile work at home too - this was the DIY tutorial we followed most closely:


http://www.thisoldhouse.com/toh/how-to/step/0,,221776_156354,00.html


Here's the step by stop process in photos:


Previous carpeted floor
Our nice surprise!


Tile lay-out process
Spaced out tiles
Finished product... Could not be happier with it! Especially with our fresh walls, new carpet, and decor! --- That post will be next ;)


Our "to-do" list is still about a mile long, but this project was great to do together and I am so looking forward to turning the rest of our house into our "own" with the help of our family :)

enjoy
e.l.l.

Monday, July 21, 2014

Lasagna Rolls

 Tonight's dinner was quick and easy! Not to mention delicious :)


Start by boiling your lasagna noodles till they're tender and able to be rolled without breaking

While you're noodles are cooking mix the following - serving size will vary on the number of rolls you're making:

- Ricotta cheese - Asiago cheese
- Parmesean cheese - Fontina cheese
- Cottage cheese - Spinach, sliced
- Pepper - Salt
- Oregano - Basil
- Garlic - 1 Egg
 Mix all of these together util mixed well

Once noodles are soft, removed from water and let dry on a CLEAN kitchen towel, begin the rolling process when cool.

When noodles are cool, spoon and spread cheese mixture over noodles in a thin or thick layer - depending on how many you want to make with your cheese mixture - I boiled 10 noodles and only ended up using 6 of them :)

Roll your noodles and place them in the pan with the seam at the bottom - this way it won't unroll itself while in the oven.

Bake at 400* until cheese is melted and golden to your desire - the noodles are already cooked so you don't need to worry about them!


Enjoy!
e.l.l.