Showing posts with label DIY. Show all posts

Sunday, September 14, 2014

Bar stool revamp

Our bar stools were left behind by the previous owners and it was time for a revamp - wanted to update the chairs to match the rest of the work we're doing in the house. They started out as black and grey and have been turned into a beige color with a blue/green cushion.


Materials:
- Liquid paint stripper
- Steel wool
- Metal sanding brush
- Clean rags
- Primer
- Spray paint in your color
- Drop cloth (x2)
- Bucket
- Soap

Steps to paint:

1. Start by laying your drop cloth over the surface that you're going to be using and remove seats; keep screws in a safe place to reassemble. 
2. Clean the item you're going to be refinished - I cleaned it in the yard so my working area wasn't going to be effected.
3. Wipe down, making sure it's all dry
4. Apply your paint stripper - make sure if's compatible with the surface you're working on. My stools are metal. Let stripper sit until peeling is noticeable.
5. Wipe down stools with a CLEAN rag.
6. Using steel wool or metal brush, even out any areas that are course or that did not strip well. You'll want to run the steel wool over all areas so stool has grooves in it for the paint to hold.
7. Wipe away any residue from sanding with the steel wool - make sure your surface is dry!
8. Switch out your drop cloth - you don't want a drop cloth that's full of the stripper when you're trying to apply new paint.
9. Apply a layer of primer - ensuring you're getting ALL areas evenly. LET DRY!
10. Apply your top coat of paint.


Stripped and sanded


Supplies:
- Knife
- Staple gun
- Staples
- Fabric
- Scissors

Steps to refinish cushions:

1. Using the knife, trace inside the current staples in the cushion. You should be able to lift the fabric off the seat easily this way.
2. To remove existing fabric in the seat, remove a staple or two that's holding it in (I used a screwdriver that I fit under the staple) and pull the fabric up. If there's staples left, that's fine! They'll just be covered again.
3. Place your cushion over your fabric.
4. Cut so you have about an inch and a half to work with on each side
5. Going side by side, pull the fabric tightly, staple into place (you'll use A LOT of staples), and leave the corners for last.
6. Pull the corners straight back - this will create a "folded" look on the cushion and they'll all be uniform.
7. Reassemble your chairs!


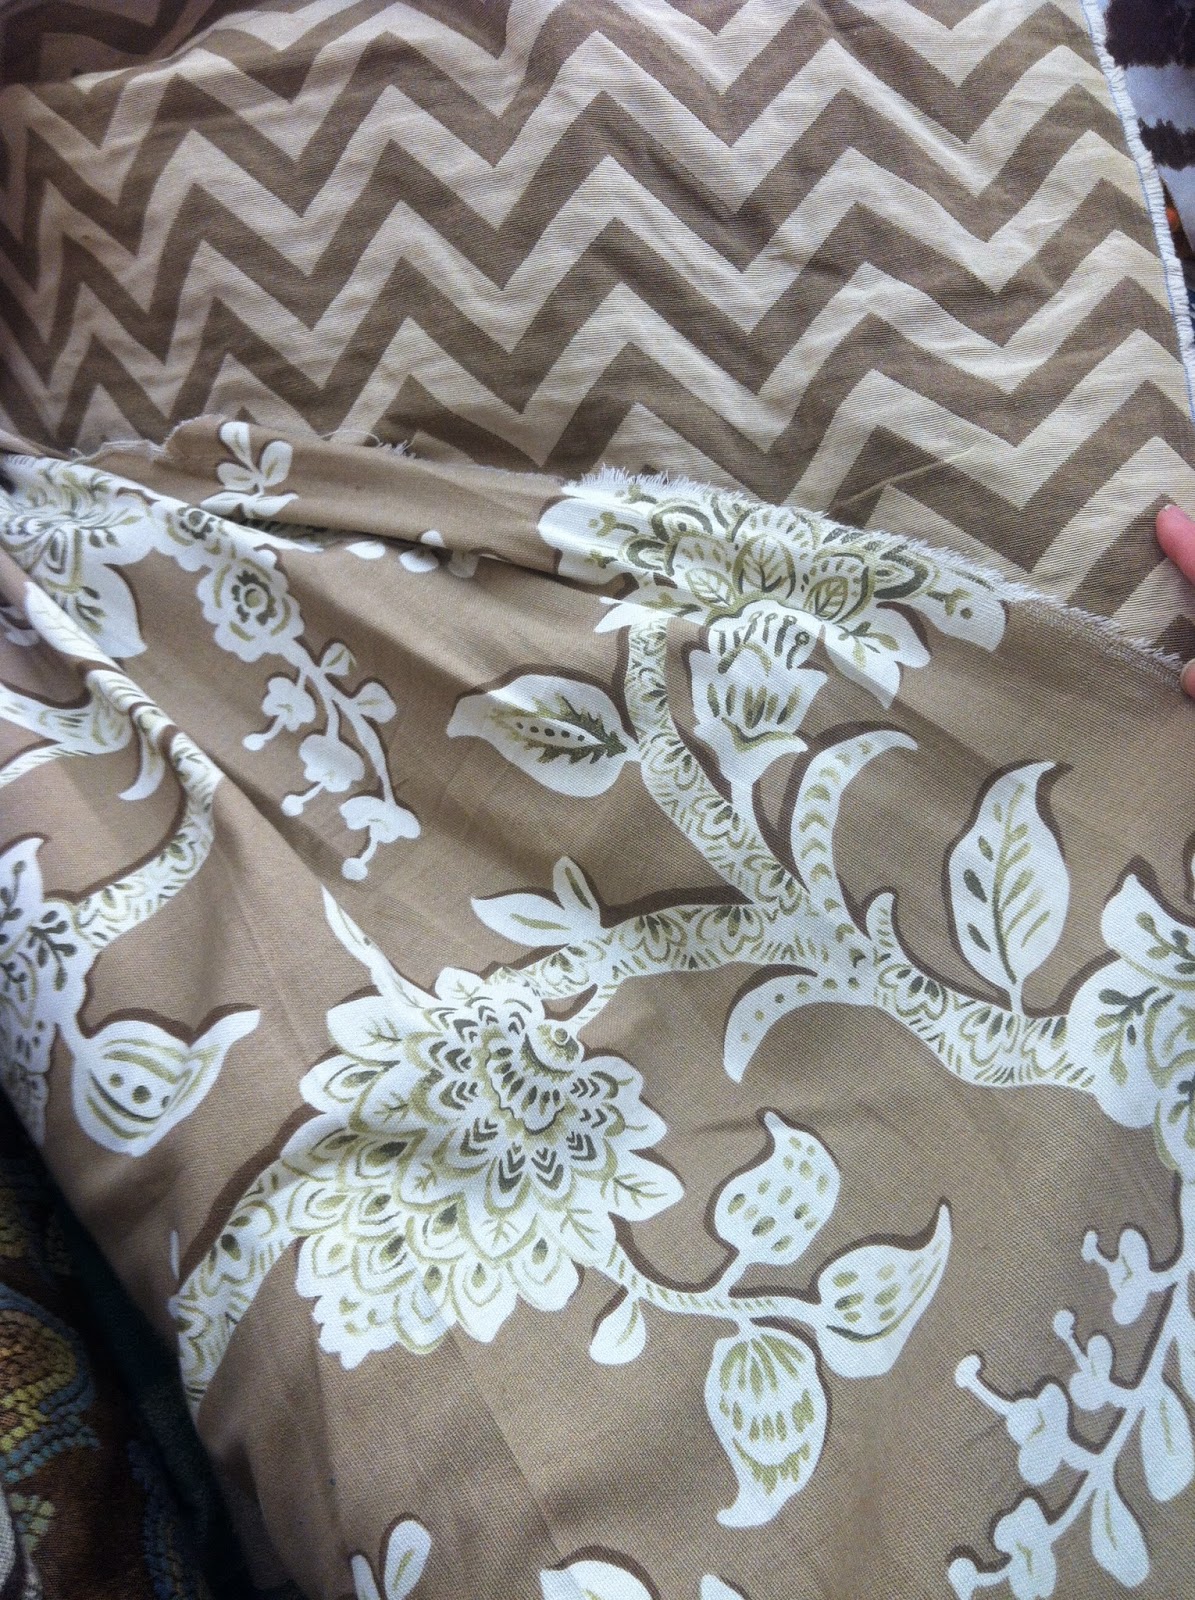
Some of our fabric options:


Final product:


Enjoy :)
e.l.l

Saturday, September 13, 2014

Landscape upkeep: Backyard


So far, we've just begun with what needs to be done in the backyard. 
Over grown flower bed, uneven fire pit, a lot
of over growth

 HELLO WEEDS AND LAYERED TREES!

We are very slowly getting there... I've redone our one flower bed back there so it's not overgrown and full of weeds, we've taken a tree out (thanks Tyler!!) and have been doing a lot of trimming and removal of small trees - for some reason, people previous to us had planted tree, on top of tree, on top of tree so they're all growing on top of each other and there's no space between them... Needless to say, we're getting there.


Here's a few of our photos of progress:


Overgrowth being trimmed...
Progress!


Filed with rock from other beds, pavers
are leveled out, weeds and sticks
thrown INTO fire pit


Existing flowers moved, new flowers planted,
mulch thrown down
Rocks and weeds removed, dirt cleaned up,
will rearrange existing flowers

Friday, September 12, 2014

Landscape upkeep

When we moved in, all of our flower beds were overgrown and not in real good shape... I don't have any photos on the "before" for the front yard but have a preview of what it looked like in the back - which is all very similar. 

We did a lot of weeding, rock picking, paver leveling, and planting. Used different sprays, preen to prevent more weeds, mulch, and bought  A LOT of perennials so we just need to take care of the up keep each year - hopefully next spring isn't so time consuming :)

Front yard: 


The front isn't quiet done as you can see - a lot of overgrowth also meant a lot of weeds. Currently tackling those, filling weed spots bit by bit, and doing a lot of fertilizing. The two trees in front are slowly dying, so next year we will be taking those out, replacing, and redesigning some of the pavers/replacing them with something a little more nice than cinder block pavers. 


Enjoy!
e.l.l

Thursday, September 11, 2014

Living Room Renovation: Part 3

Part 3 is our last and final reno for the living room space - there's a few more finishing touches I'd like to do and we'll get around to doing, but for now, I LOVE the space and spend a lot of time in this room... 


All of the pieces that are tired together from our few years of living together and can be found here:

Side tables: Brownie Furniture
Entertainment center: Slumberland furniture
Couches: Parents
Chair: Slumberland
Lamps: Home goods
Mirror: Home goods
Baskets: Michaels
Ceramic Pots: West Elm


Enjoy!
e.l.l

Wednesday, September 10, 2014

Living Room Renovation: Step 2

Next step: Paint!

It's amazing how much a fresh paint job can do for a room - especially when you're starting with fairly white walls. We looked and debated for a long time what color to do on the walls - the ceilings in the living room walls don't have any corners so we didn't have the opportunity to do any accent walls - one solid color is all that we can make sure (although I have thought about painting the ceilings; Allan isn't too keen on that idea...) 


Supplies:
- Behr Brown Teepee pain
- Brushes
- Rollers
-Tape
- Canvas drop sheets
- Trim glider
- Step stool 

Before photos:


You'll have to check back for the next post to see all of the after photos - I forgot to take some after photos with the empty room - whoops! - but I promise there will be another post soon with the finished look with our new carpet!!

Enjoy!
e.l.l.

Tuesday, September 9, 2014

Living Room Renovation: Step 1

As promised (a few months ago...) it's time to start showing off some of the work that we've been doing in the house!

We decided to start in a room that we're knew we'd be spending most of our time in - with each other, family and friends. After shampooing our living room carpet (multiple times) it  became pretty clear we weren't going to get the dark, dirt embedded square out of the center of the room and it was time to replace it, open up the entry way by tiling it so people aren't walking in on nice carpeted floors, and it could use a real good paint job (the trim is next on the list for painting, but for now, we're trying to enjoy the last of our warm weather!). 


Materials:
- Ceramic tiles
- Cement backer board
- Thin set
- Drywall screws
- Grout mix 
- Spacers
- Mixing bucket

Tools:
- Power drill
- Trowels (2)
- Tile saw
- Sponge
- Rubber grout float

This project took about two weeks - not because it was real grueling, but on days that it rained we focused on inside work and of course once we started this project, the beautiful weather kicked in! We looked at a few different DIY tutorial and talked with my dad who just finished some tile work at home too - this was the DIY tutorial we followed most closely:


http://www.thisoldhouse.com/toh/how-to/step/0,,221776_156354,00.html


Here's the step by stop process in photos:


Previous carpeted floor
Our nice surprise!


Tile lay-out process
Spaced out tiles
Finished product... Could not be happier with it! Especially with our fresh walls, new carpet, and decor! --- That post will be next ;)


Our "to-do" list is still about a mile long, but this project was great to do together and I am so looking forward to turning the rest of our house into our "own" with the help of our family :)

enjoy
e.l.l.

Monday, December 16, 2013

Holiday vases

Last Christmas, I spent a lot of time doing holiday decorations for our house... Now that we're planning on buying and kind of growing out of our rental house, I'm taking the time to enjoy the decor we already have vs. making more and not knowing where it'll all go next holiday season!


Here's a late post from last seasons craft:

All you need is - 
-glue gun
-vases
-ribbon
-rocks
-I used fake flowers

All you need to do is wrap your ribbon around the vases in a way that it'll lay flat,

Glue the ribbon in a few places - making sure you glue on the SIDE and NOT on the bottom of the vase - gluing on the bottom will make it tipsy and not sit flat,

With hot glue, glue a few of the flower heads to your vase in a pattern that makes sense with the shape and size of the vase,

Add the rocks to the bottom, place your flowers (I kept mine together with twist ties), and you're done!


enjoy,
e.l.l.


Friday, November 29, 2013

Oh, the place you'll go


This project was done with a old window screen, canvas, and cork board. It took a lot of patience to complete the canvas, but all areas were quick and sweet!
Here's the step by step: 


 -Frame-

 After ripping the screen out of the old window, 
sand the frame as smooth as possible.
Paint as many layers as you need to complete the color/style of your liking.
Let dry and your window piece is complete.


-Canvas-
Once painted to your liking, complete the following!

I did not free hand the words - I found a font I liked, picked a size that would fit within my canvas and printed out a printed out a template. 
Over the template, lay a piece of wax paper and tape the two together so your template doesn't move on you.

With puffy paint and tracing your template, let the letter creating begin!
Once your letters are complete, they should peel off the wax paper nicely. 
For pieces that are stubborn and stick, use a tweezers to pull them off.
Position your words on the canvas so they fit how you like them...
Once in position, use a large paintbrush to seal the letters down with modge podge. 
*Note: modge podge is simply equal amounts water and Elmer's glue
Use a few layers of the modge podge to prevent your letter for peeling off.
Let your canvas dry, and it is complete.

-Cork-

The cork came on a long roll... It just needed to be cut to size.
Behind the cork board, is a piece of cardboard cut to size as well.
Once layered and flat, the cardboard and cork is stapled to the back of the window frame.
Your cork board is complete.

To finish the project, simply fasten hooks to the upper corners of your frame to hang it.


This project isn't complete for me yet, I am looking for a nice map of the US to document all of the places Allan and I have traveled together - on the mirroring wall, is one photo from each place we've been together. While it's still a work in progress, that's fine with me! We're still on the search for our own home so it can wait till then :)

Enjoy!
e.l.l.


Wednesday, November 13, 2013

Second Chance Dresser

Over the summer, I needed a few "tasks" that were separate from wedding duties... We had a dresser hiding in a closet being used to organize things because it didn't match anything in our house and the paint was peeling off from a poor paint job I did in college (didn't sand it prior to refinishing... definitely necessary!)

The dresser started out as a an oak colored dresser that was covered by dark brown espresso paint. The paint was chipping, peeling, and just not appealing to the eye anymore... We had paint brushes and different paints laying around from other small projects so it was time to tackle the sore sight! 


What I needed:

Electric sander
Sand paper rounds for sander
Standard sand paper
3 bristle paint brush(s)
Foam paint brush
Paper bowl or something to fill that is disposable
Color of paints to be used - for smaller projects like this, the sample size paints you can get are PERFECT!
Polyurethane

What I did:

1. After taking the dresser apart and removing the hardware, start by using the electric sander to get the tough stuff off - sanding the areas that are covered in previous stain or paint color.
2. Once most of the paint is off, use standard sand paper to help hit areas that are hard to reach with an electric sander or that are not smooth.
3. When smooth, wipe down all areas of the wood to remove any left over sawdust - this can get under the paint and WILL effect your paint job!
4. Using the bristle brush - Start laying the paint! Make sure you are painting in the same direction of the grain in the wood. I started by painting everything white and adding yellow in long, fast streaks (not trying to cover smoothly with the yellow)
5. Once a layer of white and areas of yellow were dry, I created one more color to add.... I did this by combining equal portions of yellow and white paint in a paper bowl. By doing this, the change in color becomes more fluid. 
6. For the last layer of paint, rotate applying the different colors to the dresser - quick, long strokes will give you a streak look!

Once ALL of the painted areas are dry, use the foam brush to apply the polyurethane. The more coats, the better. I applied three which were all able to be done in the same day as it was gorgeous outside and I started the project in the morning.

*** I did get new hardware for the dresser because I did not want to spend the time sanding the hardware and repainting - cheap way to make a change! ***


Easy change to make any room come together! I used the same steps and technique on the side table for this room- Check back for the "how to guide" for the frame on the wall behind the dresser :)

e.l.l

Monday, November 11, 2013

Welcome :)

Hi all,

I'm wanting to start this blog by introducing myself and my intentions for the blog. I am a recent newlywed currently working full time while finding my way in the "career" world (preparing for more post B.A.S schooling in the spring) with down time for imagination and creation. For years, my husband has been telling me that I should blog the things I make for meals, the crafts I create for our house, and how things come together in our current rental home. At first, I thought he was just trying to flatter me and help me find things to fill my time (he works part time, is completing a field placement, and completing his Master's Degree in Social Work). After hearing this from him a few more times, I've decided to give it a try.

I decided the first blog post I would start with was our wedding. We were married on July 26, 2013 and we had a few small DIY details throughout the day. 

I'll start with my bridesmaid's and personal attendants jewelry. I made braided bead necklaces for my gals that I found on this site. Only I used ribbons instead of a chain for the backs :) For their earrings, I made dangle beaded earrings that I had found the directions for on this site. Here's how they turned out!


My Matron of Honor wore the multiple color necklace, bridesmaids in coral, and person attendants in navy.

We also created our own centerpieces as well so they'd represent us and bring everything together. 

Photo credit to: JaneCane Photography
All of the centerpieces were made with burlap ribbon, lace ribbon, and solid lace. Accented with navy blue or coral ribbons. All were made with a hot glue gun and spray glue. 

The last personal touch on our day was creating our programs - which I cannot thank my parents enough for doing for us! They were printed on two separate pieces of paper that were stuck together with double stick tape. They were then stamped and tied together with a navy blue ribbon.


Our wedding unity box had a small mishap on the drive over - it was left on top of the car and fell off into the intersection - whoops! Courtesy of my husband and brother :)

I'm looking forward to sharing more of my crafts, recipes, and random creations - Enjoy!

e.l.l